How to get more out of less gear, save money and improve at the same time
Maybe you have a few people in your circle of friends who like to buy stuff and go into overdrive when it comes to finding a suitable reason why they absolutely “need” this new item. If you look closely, the reason often turns out to be an excuse: it’s not about “needing”, but simply “wanting”.
That’s not to be judged in principle: if you’ve got the money and the purchase is a pleasure – why not?
Beware of the dangerous use of the term “need”!
In addition to the use of the word “need” to invalidate the actual “want”, there is another use that can have fatal consequences.
Most amateur musicians think or believe that they need certain equipment – and thus make a serious misjudgement!
What used to work great with catalogs has lost none of its effect on the Internet: the appetizing soup of information that makes your mouth water without you really knowing what the ingredients do in detail.
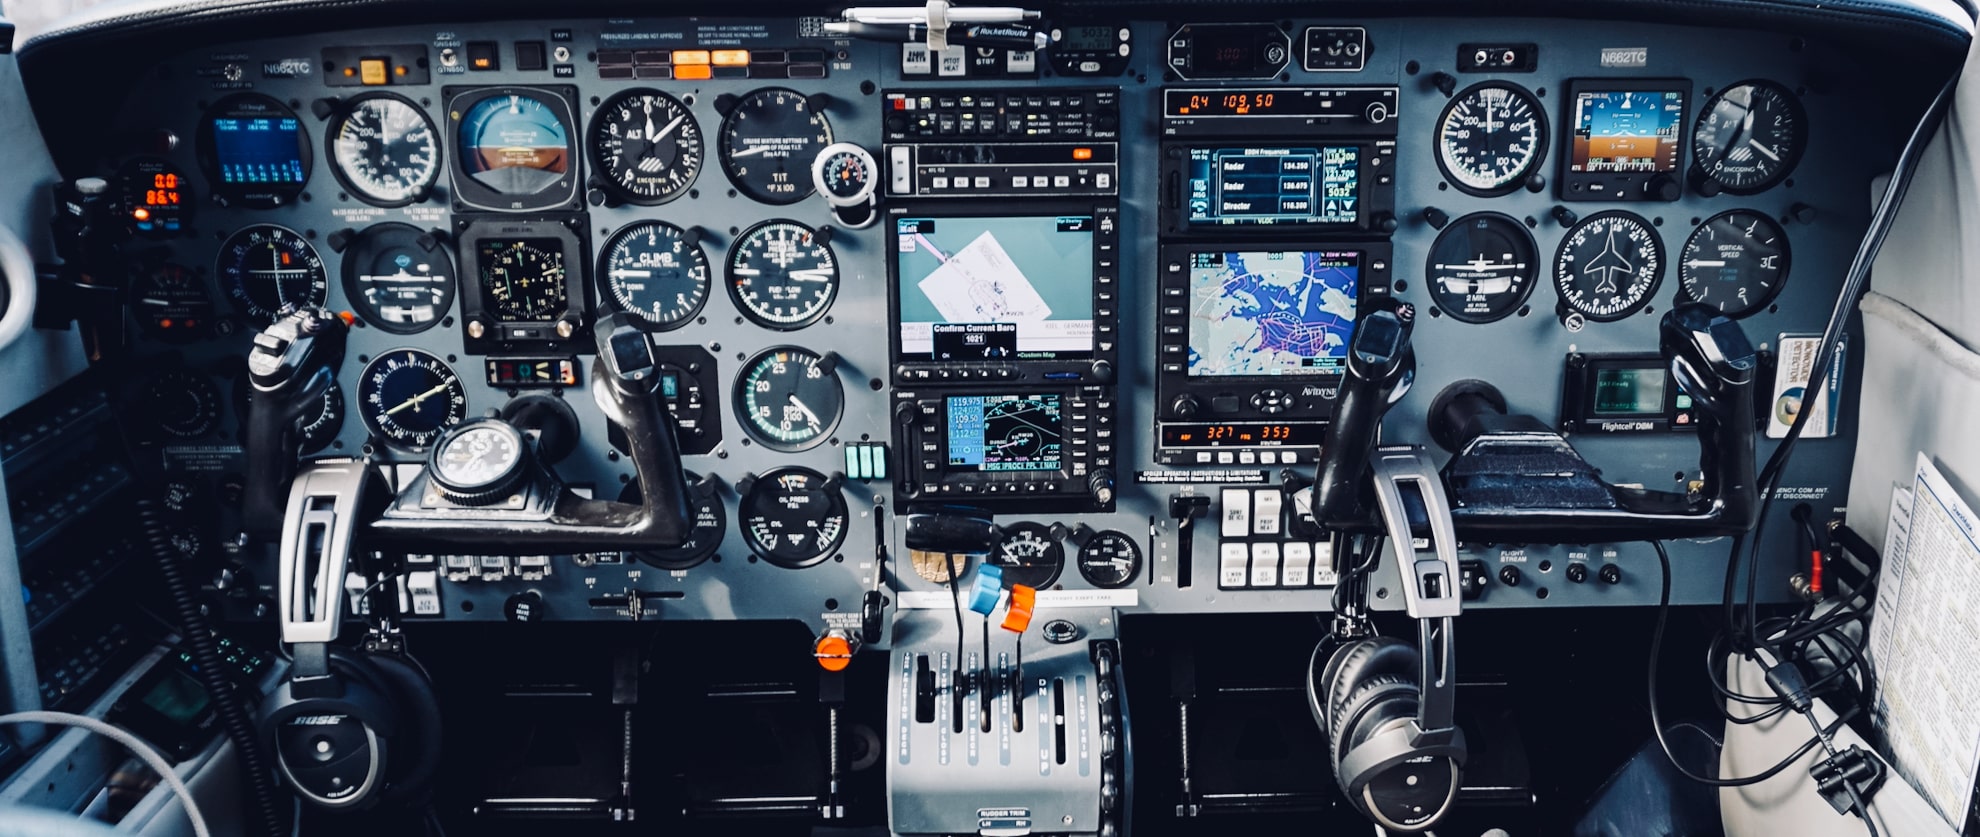
And before you know it, the tasty presentation leads you to believe that you – for example, in order to record your drumming – absolutely need the best computer AND Logic Pro AND the latest version of Superior Drummer AND all the optional plugins AND a top-class e-drumset anyway.
Especially if you are a beginner or don’t have the time to deal with the subject matter in depth on a regular basis, this tasty presentation will make you lose sight of the essentials very quickly, get everything at once and thereby spoil your tummy.
This is because all the examples just mentioned are highly professional equipment that is used to produce commercially produced music that you can find on the radio, in the movies, in games, etc.
This means that each piece of equipment in itself is already incredibly extensive and extremely complex. Getting everything to work together is a Herculean task: you have to find your way through the extremely dense jungle of functions to achieve the desired result. You will be confronted with detours time and time again. And the path that you have finally cleared is probably very winding and anything but ideal.
What’s more, if you press the wrong button or click on something that takes you to a display that you’ve never seen before and that you don’t know what to do with, you’ll soon lose your way. You get off the beaten track and can’t easily find your way back.
The great danger is that you either give up in frustration after a few attempts or settle for very mediocre results (or better yet, admit defeat) because it’s all too much and doesn’t feel like fun creativity at all.
But there is a much simpler and more effective way…
Lay the right foundation and build your gear park piece by piece
If you’ve read the Grand Flight over the area of E-Drums, you’re familiar with the principle of the runway and the landing strip: you need to both articulate exactly where you are now (money situation, time situation, local situation, etc.) and get to the heart of where you want to go (what exactly you want to do and achieve). This is your benchmark against which any piece of equipment must be measured. The book is about buying an e-drumset, but the principle applies to all areas!
So let’s stick with the example of recording your drumming. It is important that you mark out both the runway and the landing strip accurately. If your goal (your landing strip) is that you want to make your recordings in high quality, possibly correct them afterwards and then “blow them up” in terms of sound with in-depth editing, then it is reasonable to assume that you will be able to do this better with more “proper” gear.
Does your runway fit this assumption?
If your starting position is (still) at the very beginning when it comes to recording, then more gear will not only not get you any further, it will actually slow you down. You can’t escape getting your first experience with the basics! So you have to look at the subject more like a new instrument to be learned: the first movements, the first theoretical basics, the first playing around to put theory into practice. (It’s called “playing an instrument” for a reason!)
The correct route to the Gear Park is divided into these three stages:
- Find out whether your existing equipment already offers functions that allow you to do what you want to do.
- Get to grips with the functions as much as possible until you have mastered them – and are aware of the shortcomings as well!
- Check both your runway and landing strip again and only then, if necessary, look around for other gear that better matches your personal benchmark.
For the example of recordings, the stages could look like this:
Stage 1: Find out whether your existing equipment already offers functions that allow you to do what you want to do
And it’s not just about theory. In practice, you will quickly realize that your drumming as such comes first. For a good recording, it is absolutely essential that you play flawlessly, groove, keep the tempo and have the dynamics under control. So practice what you want to record before you record it. (You see: at this point in the stage, equipment doesn’t play a role at all).
In second place there is a phenomenon that afflicts the vast majority of musicians – even hardcore professionals. You’re relaxed, confident and at ease – but as soon as the record button is pressed, the adrenaline kicks in, your breath catches and your mental connection to the musical heavens is abruptly cut. It gets worse with every bar; “finally” making a mistake while recording seems like salvation… (And this aspect has nothing to do with gear either.) You have to learn to deal with this phenomenon so that you don’t mess up every recording. (The best method: record about a million takes…)
Now it’s the turn of your existing equipment. Nowadays, many e-drums offer at least rudimentary and sometimes more complex options for recording your drumming. Even if you have already made recordings before, but have stumbled along a rocky path without any orientation: don’t be afraid to downgrade yourself as a “beginner” and tackle things in an organized way right from the start! It cannot be stressed often enough: only if your foundation is solid you can build on it properly.
By the way: A rudimentary device takes away major barriers. It takes care of the core task and doesn’t overwhelm you with complex functions and tricky operation. Refer to the operating manual and directly apply what it says, piece by piece. Get to know your device inside out.
Stage 2: Get to grips with the functions as much as possible until you have mastered them – and are aware of the shortcomings as well!
So as soon as you’ve mastered the few steps involved in starting, stopping, saving and deleting a recording, you’re ready to make your first good recording. Now it’s time to fully explore the existing functions one by one. Don’t skip this step whatsoever! This way, you will not only find out what you can do with your existing equipment, but you may also find out which function(s) would be of benefit to you – which your device may unfortunately not have. An excellent selection factor for your later search for better equipment!
Stage 3: Check both your runway and landing strip again and only then, if necessary, look around for other gear that better matches your personal benchmark.
After your 2nd stage, at least your runway should have changed. You are now familiar with some of the functions and should no longer have to waste time with “What was that again?” when making a recording.
But maybe something has changed on your landing strip as well. It is not uncommon for goals to change based on learned processes and experience. Reminder: you had previously thought that you needed something specific. With this new knowledge, you can reflect on what you have thought and gain new insights.
In either case, you have already improved – congratulations!
Now you can start working on other equipment. Always remain aware and always aim to get to know your new stuff as well as possible in the area in which you want to work.
A single additional device can already result in a lot of learning work. This is due to the fact that nowadays not only professional tools have a (vast) number of functions and allow the most complex processes. Just think about what your smartphone can do – and which of it you really use effectively…
Back to recording your drumming. For example, you own Roland V-Drums, such as a Roland TD-17 set. The module has a built-in interface that allows you to transfer your game digitally to a computer or iPad. This offers more convenient recording with more editing options.
If you own an Apple Mac or an Apple iPad, you can use the included Garage Band software to make your recordings. And that’s exactly what you should do before thinking about spending money on a big software program like Logic. (Of course, this also applies to the Windows counterparts).
And suddenly you have three new construction areas:
- a computer that you must be able to operate at least well enough to make the right settings for a smooth recording process
- the digital interface of your e-drum module, which you have to connect to the computer and ensure that the devices “understand” each other
- the software, which you must at least be able to operate in such a way that it recognizes the interface and you can master the start, stop, save and delete functions.
The three stages also apply here. Once you have mastered these, you may find that you don’t need to add any more equipment for the time being. Always remember to make yourself a pilot of your existing equipment before switching to other machines. This will help you avoid overwhelming yourself!
SUMMARY
The well-known saying “less is more” is justified – and not for your equipment alone! It’s always a good idea to start with as little as possible, get to know and explore the possibilities and master your gear before expanding your park.
This also applies to the drumset itself: fewer drums and cymbals offer several advantages, at least in the beginning. You can make better use of the space to set up your set perfectly because there are fewer, if any, bottlenecks due to too many instruments. In addition, you can reach your goal of hitting your instruments blindly more quickly; after all, you only have to concentrate on a few hit points when practicing.
Once you have mastered these basics, nothing stands in the way of expanding your drum set piece by piece. And if your experiences and insights have changed your landing strip in such a way that you are already completely satisfied with your situation – all the better!